339 Spline
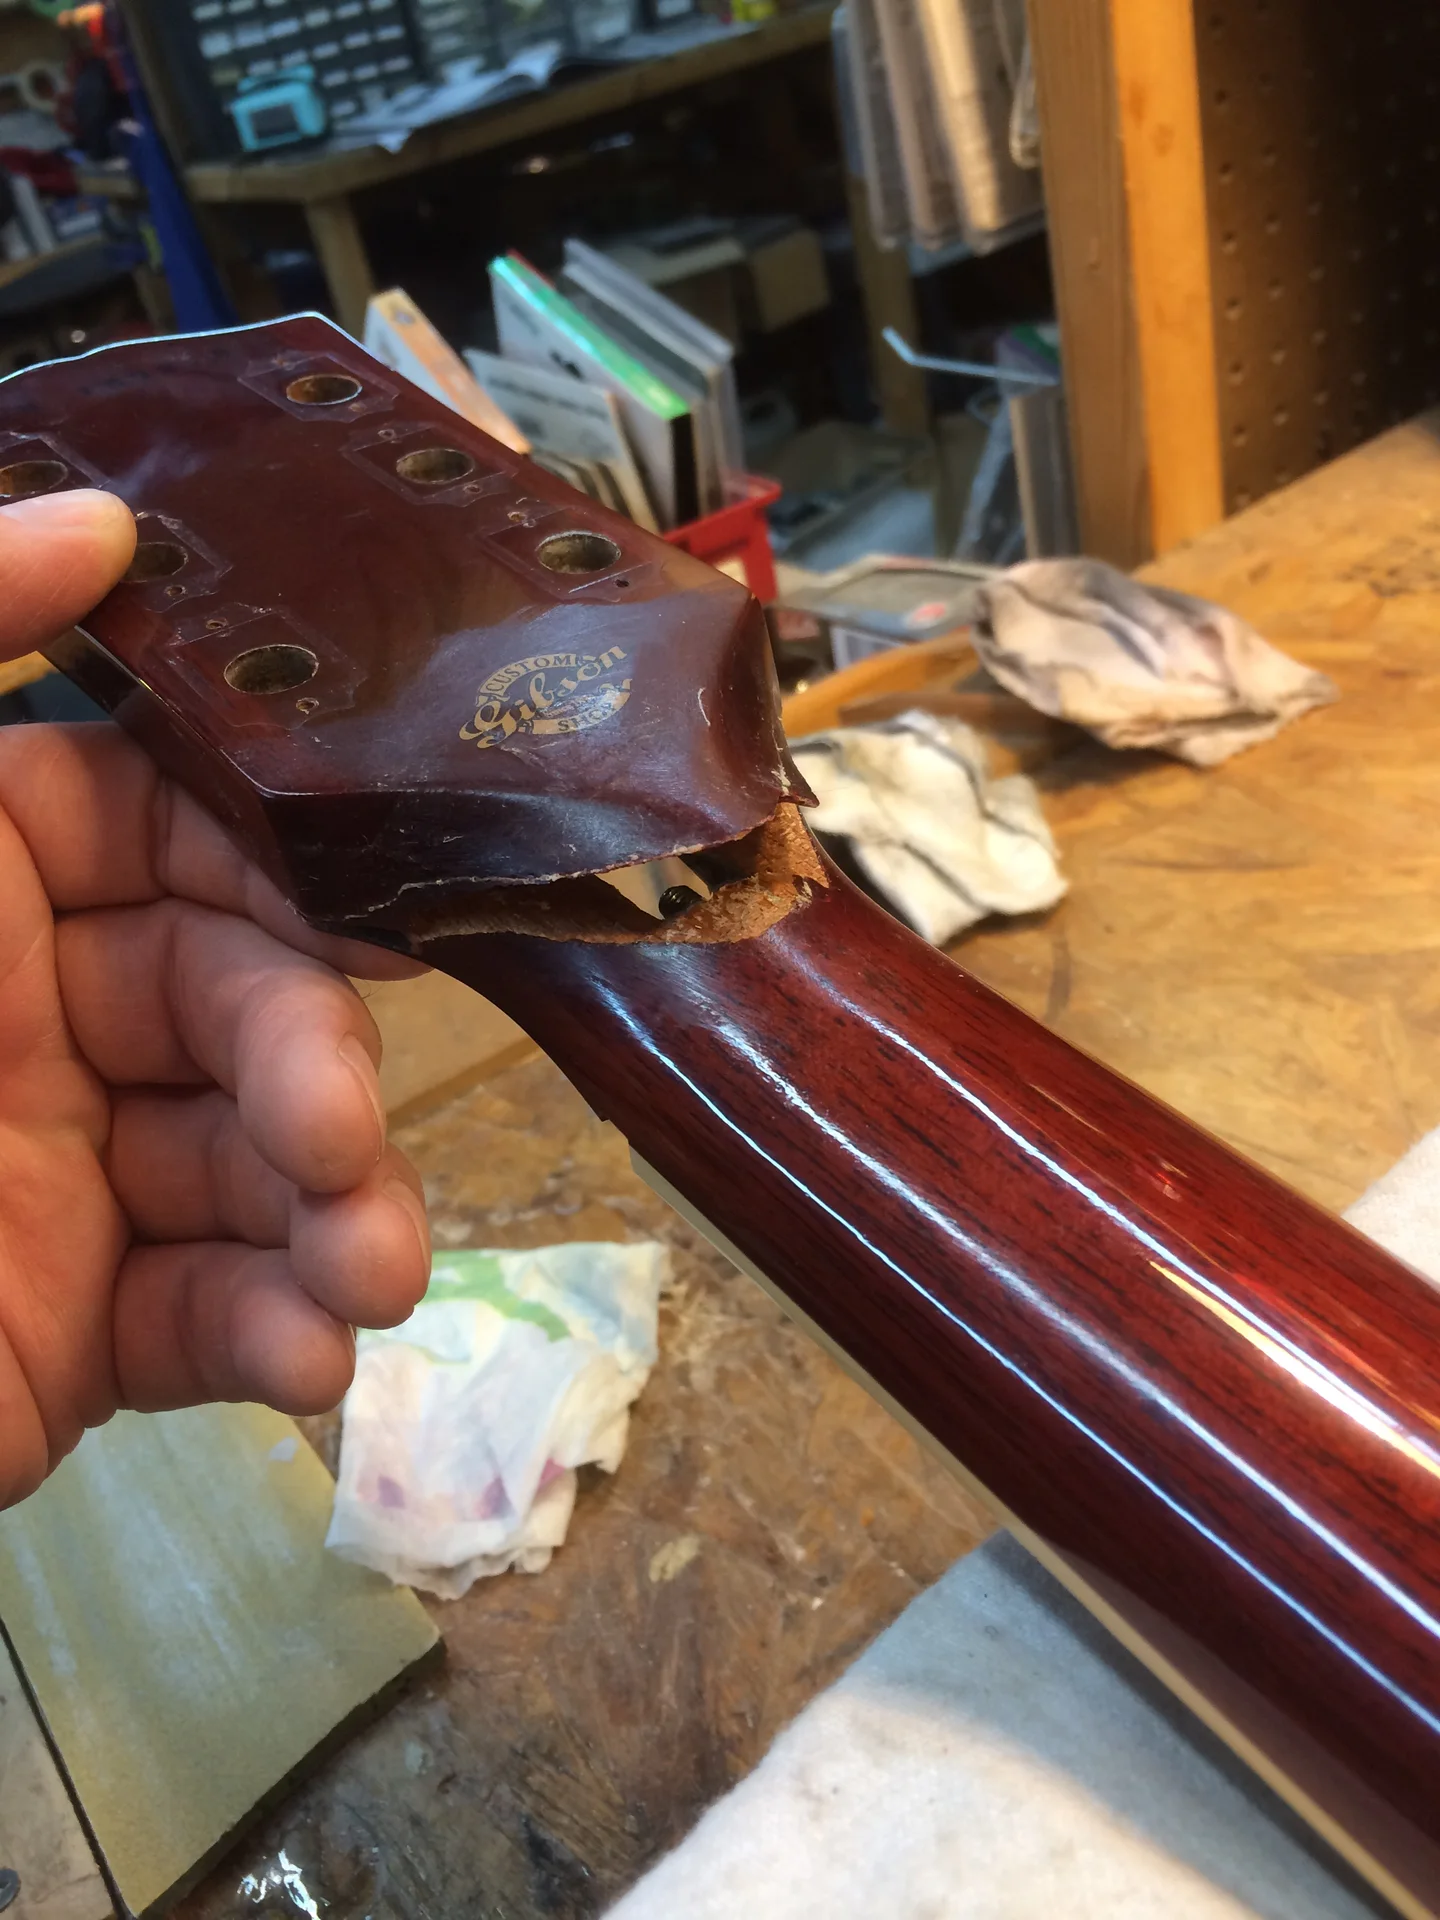
This Gibson Custom Shop ES-339 had suffered a broken headstock, been reglued with a poor choice of glue, and then rebroken. In this situation, with old crusty glue contaminating the joint and making it difficult to fit back together and glue securely, we resort to inlaying wooden splines through the broken area to restore some solid wood and good glue joints to the weakened area. It's more expensive and more challenging to touch up, but it makes sense when your expensive guitar is broken and unplayable!
01
A rebroken repair
Here you can see into the previously-repaired break, there's a lot of crusty glue in there.
02
Reglued Headstock
So we clean it out as best we can and glue it back together.
03
Spline 1
After it's glued up, the headplate is removed and we mill slots into the neck to accept mahogany splines spanning the broken area.
04
Spline 1 Front
Here's the first spline glued in and roughly trimmed.
05
Spline 2
Here you can see the first spline in place, and the opening milled out for the second spline.
06
2 Splines Front
2 splines in place, viewed from the front.
07
2 Splines Back
Here you can see the splines glued in, trimmed, and carved into the shape of a guitar neck and headstock. . .
08
Touchup Begins
Now we start the finish touchup. The upper part of the finish was left in place to preserve the original serial number markings.
09
Touchup - opaque
Here some partially-opaque color has been applied to the repaired area to move it towards a more consistent raw-mahogany look.
10
Faceplate reglued
Here the headplate has been glued back onto the headstock, concealing the splines.
11
Graining
Here some woodgrain has been drawn onto the color touchup.
12
Color Coats
In this photo, new red has been sprayed over the base color and graining work, blending into the original red of the neck and headstock.
13
Topcoats
Topcoats over the color coats, we're nearly there.
14
Finished headplate
A front view of the refinished face of the headstock. Some color was required here during the repair to conceal the stress cracks from the headplate being bent a couple of times.
15
Closeup of Splined area and Decal
With finish touched up and a new decal from the Custom Shop in place, it all looks undisturbed.
16
Finished neck from Back
Here's the whole picture - ready to go back to the customer, looking and playing like new again.
Next step
Yours could be next on the bench.
Drop off at Elston Avenue Monday through Saturday, noon to 6pm. No appointment needed. Or send photos for an estimate first.